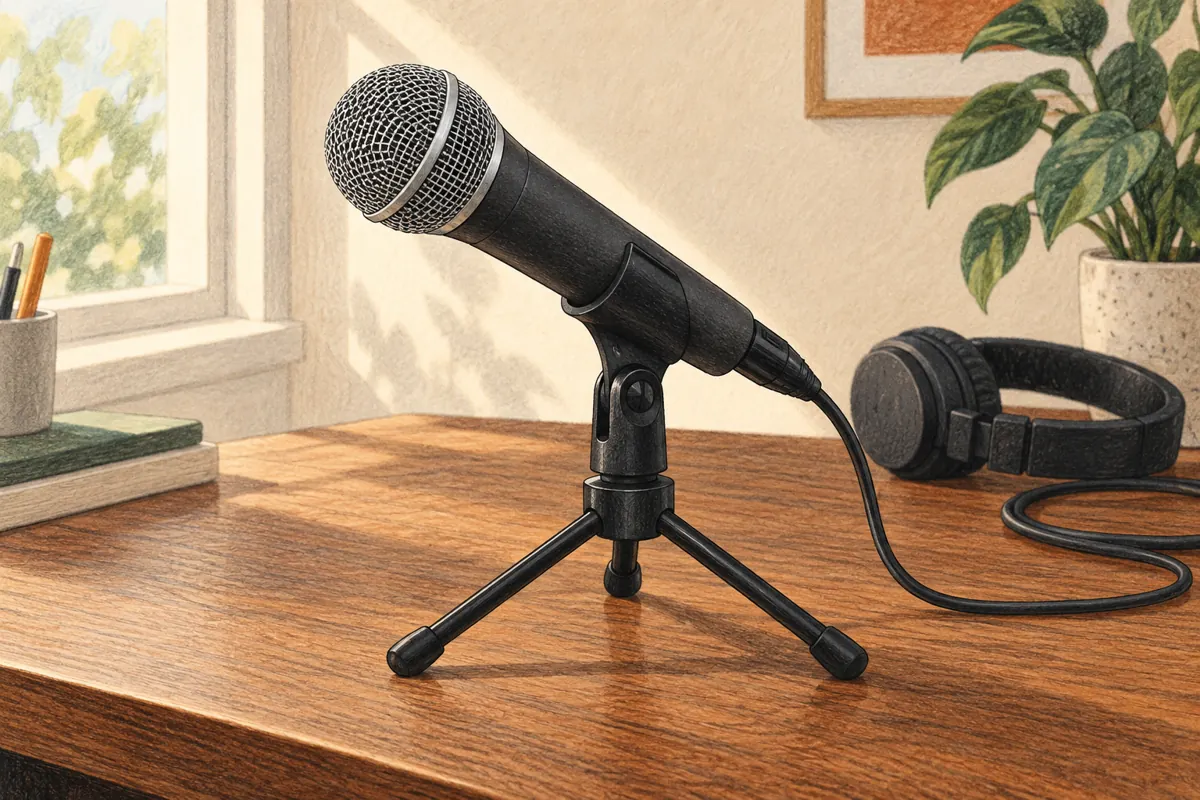
A new podcast does not need a desk full of gear. It needs a voice you can hear, a quiet place to talk, and a file that saves when you press stop. I would put the first dollars into those three things.
These four picks cover a small home setup. You do not need to buy them all at once. A solo host can start with the first two. The other podcast equipment solves a clear problem: where to put the mic, and how to record two people.
| Podcast equipment | The job it does |
|---|---|
| Samson Q2U | A USB mic to start, with XLR for later |
| Sony MDR-7506 | Wired headphones to hear faults as you record |
| Rode PSA1+ | A desk arm that brings the mic to your mouth |
| Scarlett 2i2, 4th Gen | Two XLR mic inputs for a host and guest |
1. Samson Q2U: the first piece of podcast equipment I would buy
The Samson Q2U gives you two ways to connect. Use USB to record straight into a computer. Use XLR when you add an audio interface. That makes it a sensible mic for a new show whose format may change.
The current Q2U has a USB-C port. It is a dynamic mic with a cardioid pickup pattern, so point its end toward your mouth. The box includes a small mic stand, clip, foam windscreen, USB cable, and XLR cable. Check the listing if you buy older stock, since earlier units use a different USB socket.
I like the headphone jack most. Plug in wired headphones and hear your voice from the mic without the delay of a trip through recording software. A USB microphone that helps you catch trouble is more useful than one that just looks good on a desk.
The catch: the small stand can leave the mic too low. Bring it closer instead of turning the gain all the way up. Speak just past the grille to soften breath blasts. The foam helps, but it cannot erase desk knocks or a loud fan.
The best podcast microphones are the ones you can place well. Even good podcast microphones sound distant when you lean back across the room. Leave a few inches between your mouth and the mic, then listen and adjust.
2. Sony MDR-7506: hear the problem before you save it
The Sony MDR-7506 is a wired, closed-back pair of over-ear headphones. The folding design fits a small bag, and the long coiled cable gives you room to move at a desk.
For a podcast, headphones are a tool for catching faults. You want to hear a scrape on the mic, a loose cable, or a guest whose voice is much louder than yours. Closed backs also help keep playback from spilling into nearby microphones.
I would use a wired pair for audio recording. Bluetooth can add delay, and a call app may switch into a lower-quality headset mode. A direct cable keeps that part of the setup simple.
The catch: the cable is fixed and can get in the way in a small space. Fit matters too. Wear any new headphones for a full practice chat while you can still return them. Do not turn them up to drown out a noisy room.
Already own wired headphones that fit well? Start there. This is a good place to save your budget. You need to hear your podcast clearly, not collect gear.
3. Rode PSA1+: put the mic where your voice is
The Rode PSA1+ is a boom arm with a desk clamp and a through-desk mount. Its supported load runs from 94 grams to 1.2 kilograms. Count the microphone, clip, and any mount when you check the weight.
I would add this after a few episodes, once you know where you like to sit. A desk arm lets you bring the mic to your mouth without leaning over a short stand. It also clears room for notes and a keyboard.
The catch: this is a comfort upgrade, not a sound-quality fix on its own. Check the desk edge, clamp clearance, and thread fit before buying. A glass top or a weak hollow desk needs care. A firm tap on the desk can still travel through the mount.
You do not need a shock mount, pop filter, and arm just because a podcast kit has them. Add each piece when it solves a fault you can hear. Many beginners can make a great podcast with the stand they have.
4. Scarlett 2i2: podcast gear for two people in one room
The Focusrite Scarlett 2i2, 4th Gen takes two XLR microphones into one computer. Each person gets a separate input. That makes it easier to set levels and edit a loud laugh without changing the other voice.
The 2i2 has Auto Gain to help set input levels, plus Clip Safe to reduce gain if a voice gets too loud. It has one headphone socket. Two people who each need headphones will need a suitable way to feed both pairs, so include that in the budget.
The catch: two inputs means two sources at once. The front instrument sockets and rear XLR sockets do not turn it into a four-mic box. If a third host is likely, buy for that need before you invest.
I would choose an interface over a podcast mixer for a simple two-person show recorded into a laptop. A podcast mixer makes more sense when you need live faders, extra sources, or built-in recording. Our USB audio interface picks explain the trade-offs in more detail.
Build your podcast setup around the people
For a solo podcast, start with one USB mic, headphones, and your computer. For a remote guest, each person should use their own mic and headphones. For a co-host on the other side of the same table, use one microphone per person through a shared interface.
A discussion among new podcasters starts with two or three microphones and grows into cameras, lights, and portable recording. It is a useful reminder to settle the format first. A list of accessories is not a plan for a show.
Podcast kits can save time, but count the parts you will use. Two USB microphones are not always a simple two-host setup. Many apps expect one audio device. XLR podcast microphones through one interface avoid that extra layer of routing.
If you will walk around with a phone, a desk setup is the wrong shape. The Lark A1 Mini Duo review covers a small wireless kit for mobile interviews.
Spend ten minutes on the room
Before you buy more podcast equipment, record a short sample where you plan to sit. Turn off the fan if you can. Close the door. Move away from bare corners. Soft chairs, curtains, and a rug can tame some of the ring in a room.
A closet full of clothes may work, but leave room to breathe and sit with ease. Comfort affects how you speak. For a space you use each week, our acoustic panel guide explains what wall treatment can change.
No microphone can promise studio-quality sound in every room. Close placement often does more for clear speech than a costly switch between podcast microphones. Deal with background noise at its source when possible.
Your first recording, before your first episode
Use a free recording tool if it meets your needs. The Audacity first-recording guide walks through input selection, levels, and saving your work. Do a full trial from record to export before a guest arrives.
- Choose the correct mic in the app, then put on headphones.
- Talk at your normal level. Leave room for a laugh without hitting red.
- Record one minute, including a quiet pause.
- Play the file back. Listen for hum, echo, and clicks.
- Save the project and a separate audio copy. Check both open.
That last step matters more than one more box on the desk. Start your own podcast with a setup you can repeat. Let the next piece of podcast equipment earn its place by fixing a real need.